|
Who
doesn't love crazy Doc Brown? Great Scott?!
Do people that don't love him even exist?!
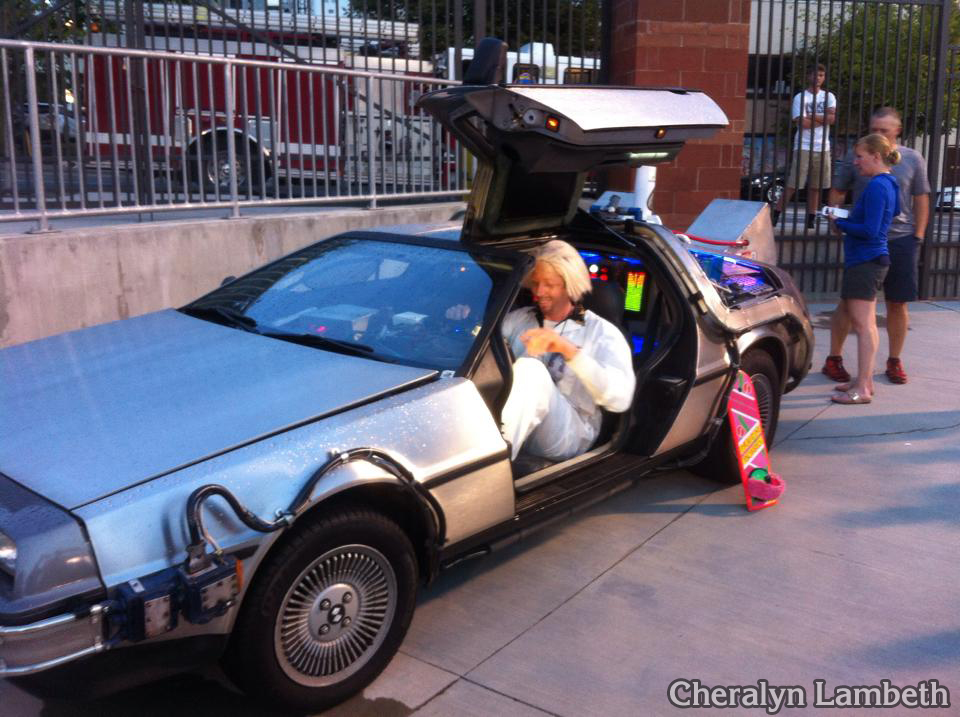
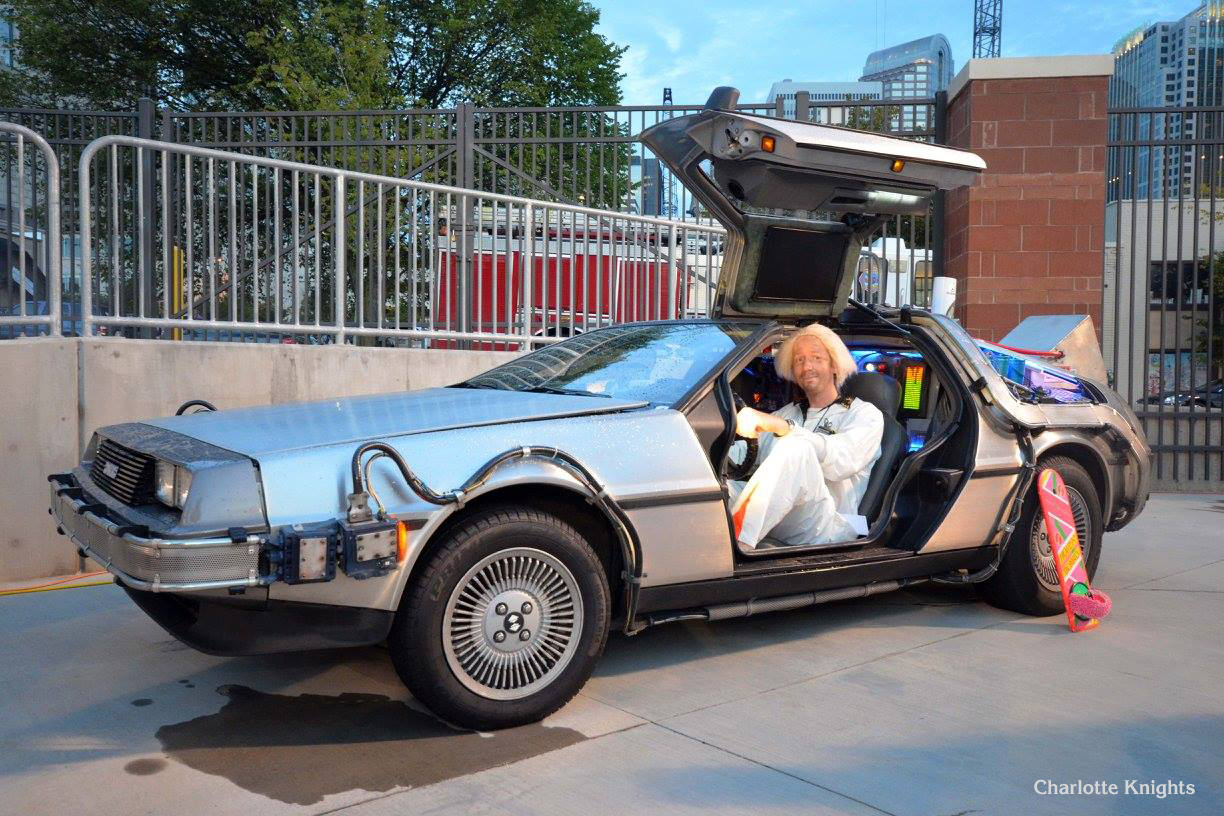
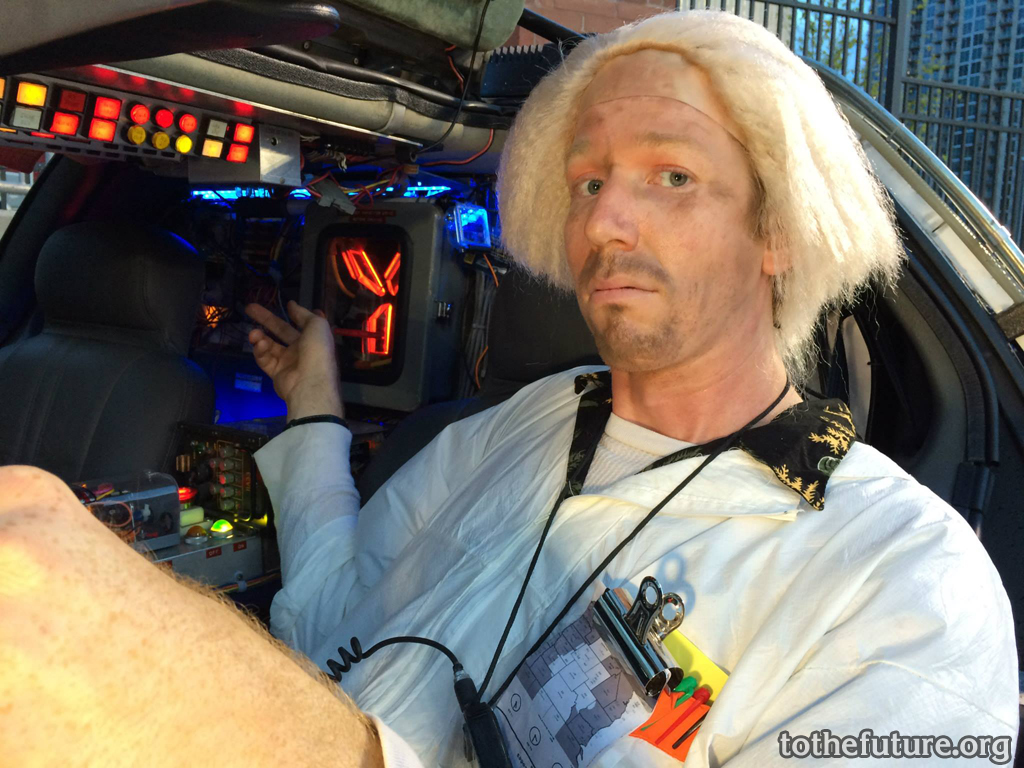
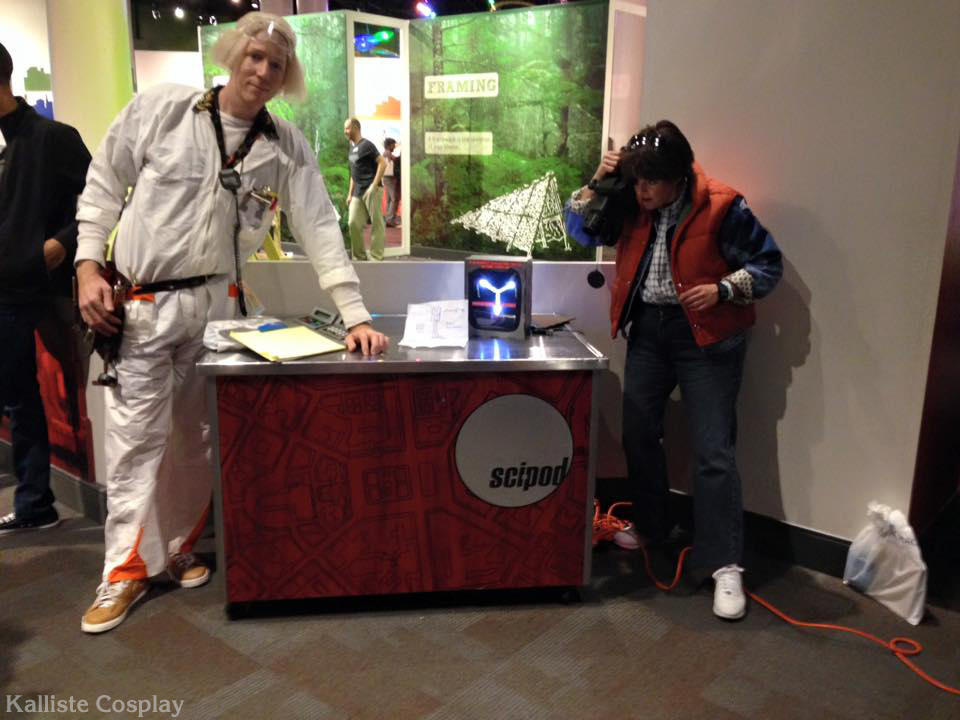
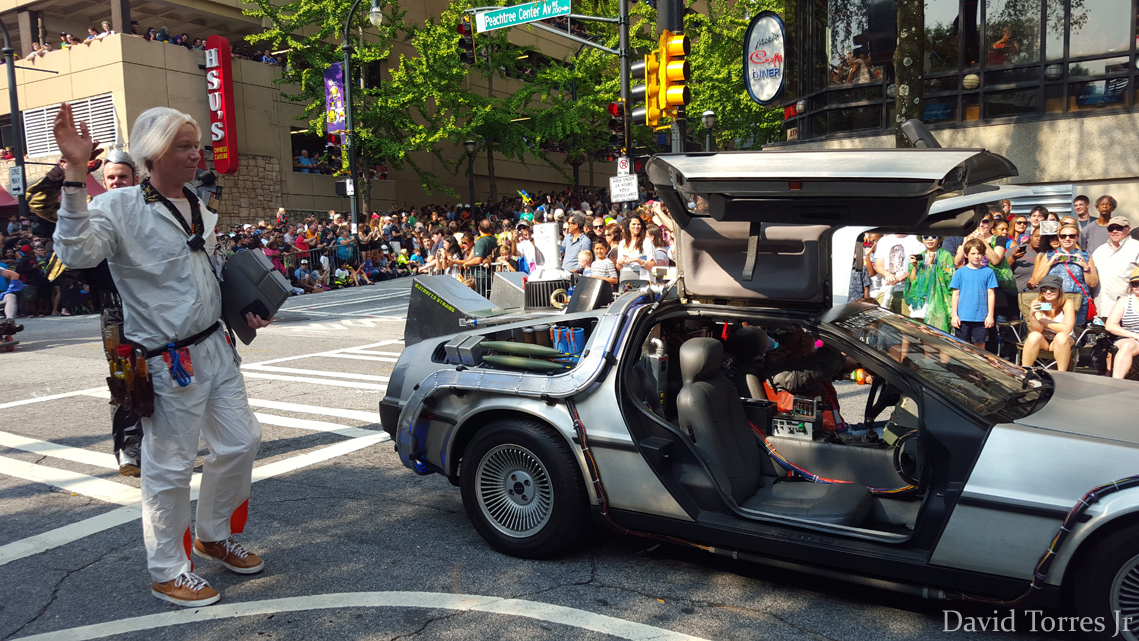
I love the Back to the Future Trilogy and decided to go
all in on Doc Brown. His outfit is far more complex than
a white jumpsuit and a clipboard. It consists of the following
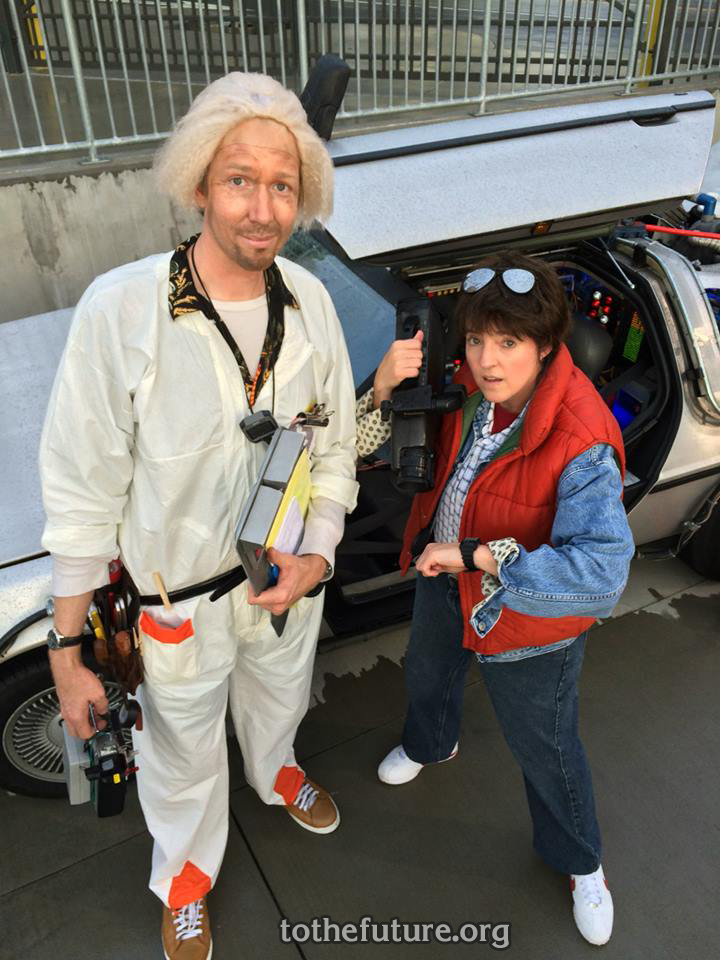
Main clothing:
Thermal undershirt
Hawaiian shirt
Radiation suit.
Brown Nike Vandal shoes
The thermal shirt is just a regular thermal I bought at
a thrift store, same deal with the Hawaiian Shirt. I tried
to get the colors close on the Hawaiian shirt.
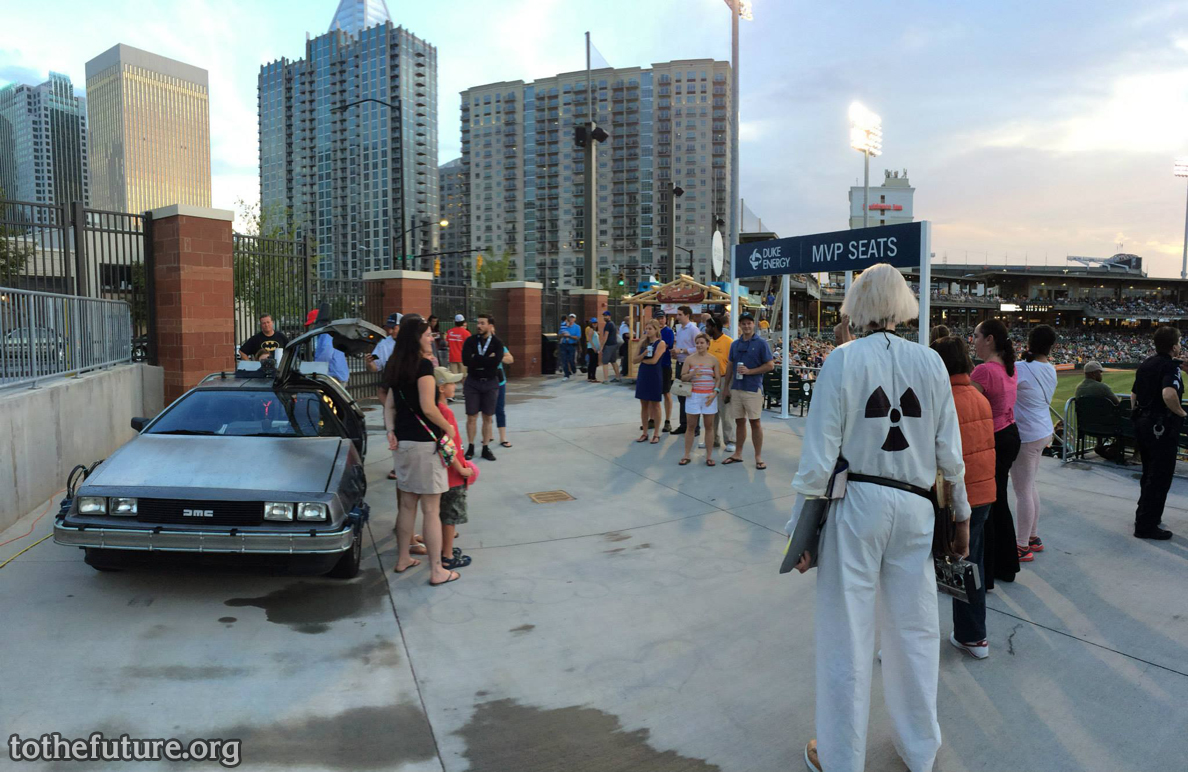
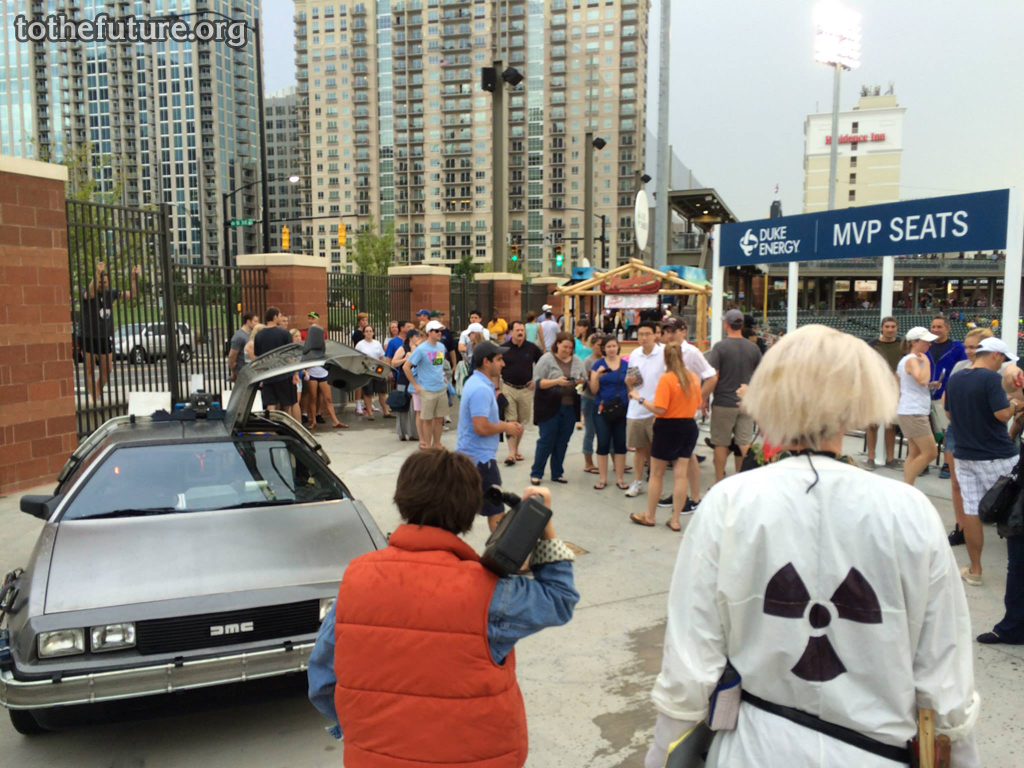
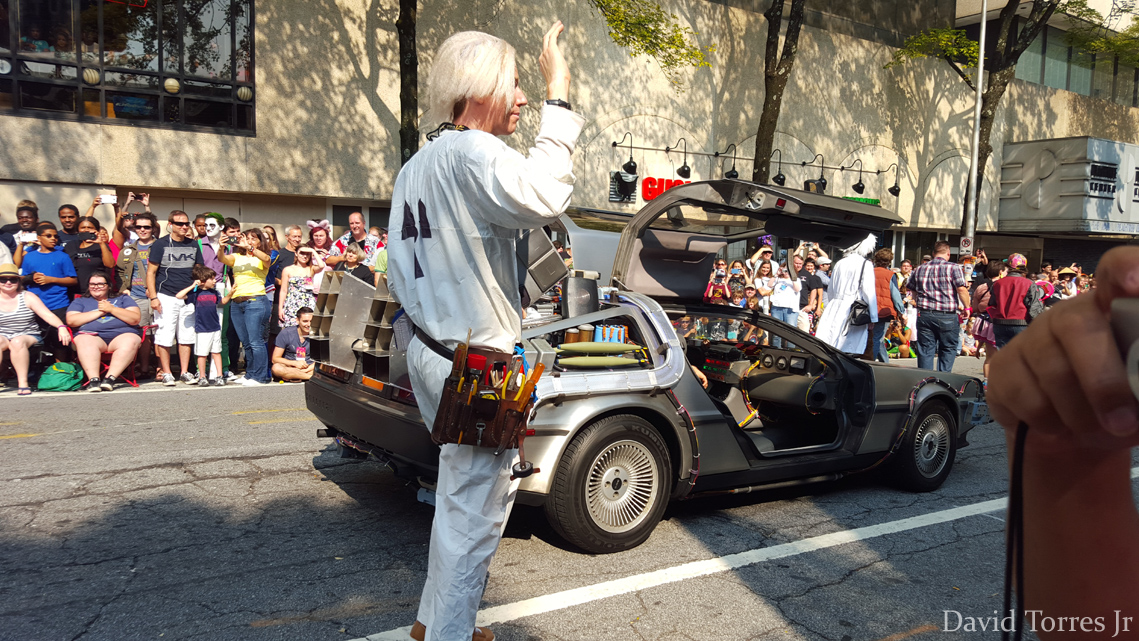
I made the white radiation suit from two pairs of painters
coveralls from Home Depot, adding the pockets and orange
detailing as well as the radiation symbol on his back. The
orange areas are made from vinyl from a cheap orange poncho
I bought at a thrift store.
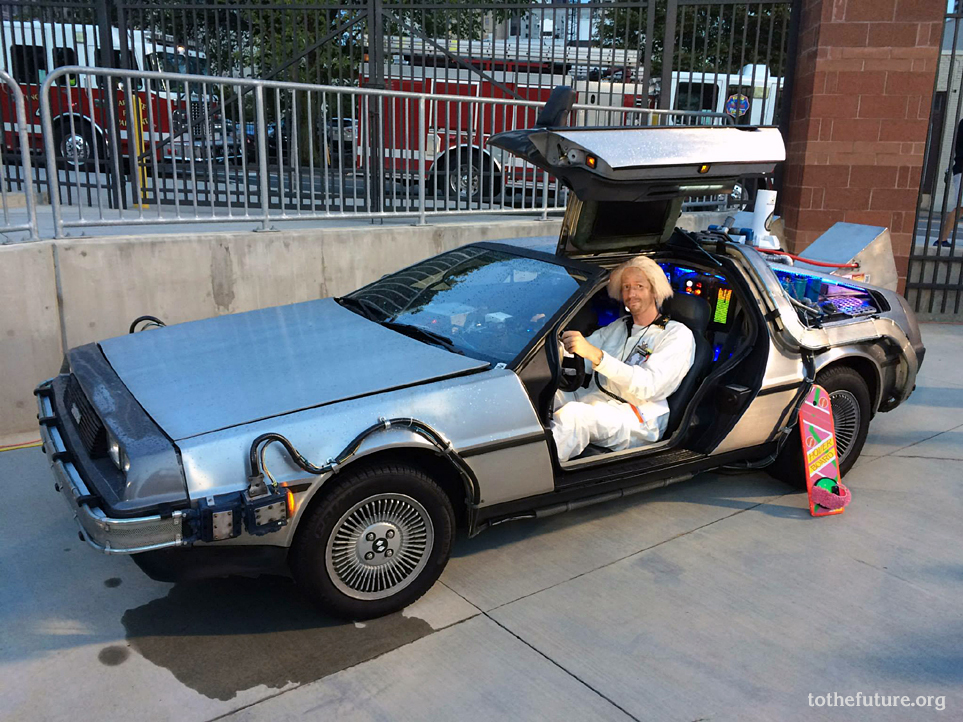
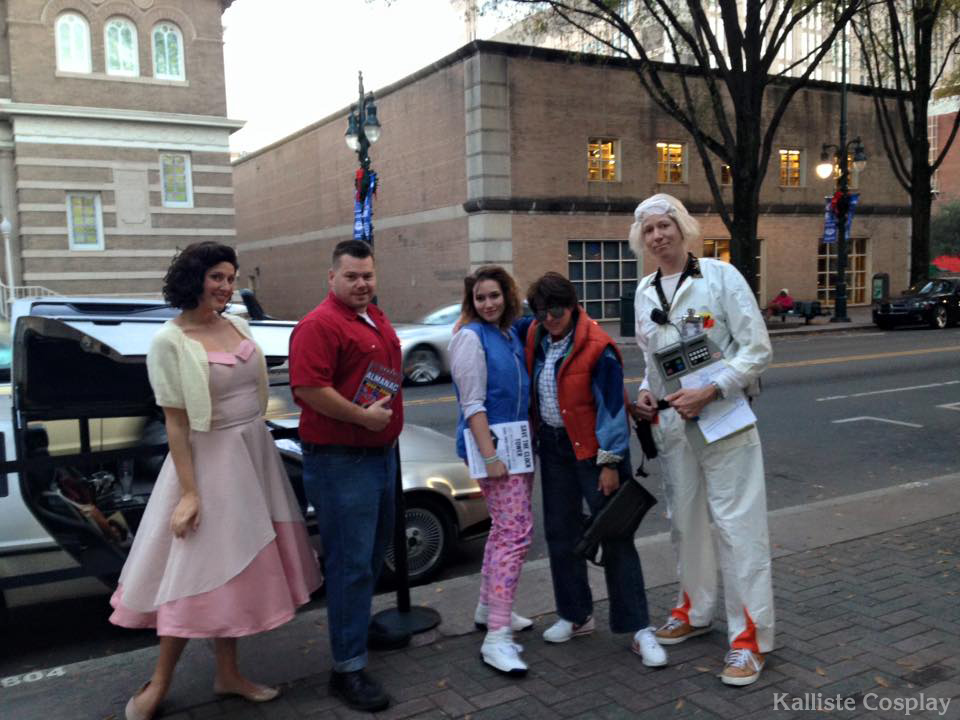
My shoes as seen in these photos are NOT Vandals but a pair
of Nike's that was close enough that I found at a thrift
store. After cleaning and sanitizing them inside and out
I painted them carefully to match the color of Doc's shoes
in the film. Later I did purchase accurate Vandals, but
in white that I do plan to paint/dye the proper color at
a later date.
Accessories:
Seiko Stop Watch
Seiko System Printer SP11
Seiko Printer Pouch
TAG Heuer SA Microsplit 7750 - 7030 Timing Board
Large Tool Pouch with various tools
Large pocket clip
Yellow Pocket protector
Time Zone map
The actual Seiko and TAG Heuer items are very expensive
so I made my own. I bought a close enough cheap timer at
a discount store and modified it with JB Water Weld, sculpting
its body into the proper shape and added appropriate detailing
and labels. While not 100% accurate it was more affordable
than buying the real thing.
The Seiko Printer I made using styrene plastic and made
a fake print out to sit inside of the paper feed area. I
used a bit of clear plastic bent to shape to hold the paper
in place and for the cutter detail. Because the Printer
is deep in the printer pouch I didn't bother withthe label
and detailing that would be out of sight. I used a phone
charger cable for the connecting cable and parts from an
X-Acto knife for the connectors.
The printer pouch I sewed from scratch, leaving a small
hole in the bottom for the printer connector to come out
of like the real deal.
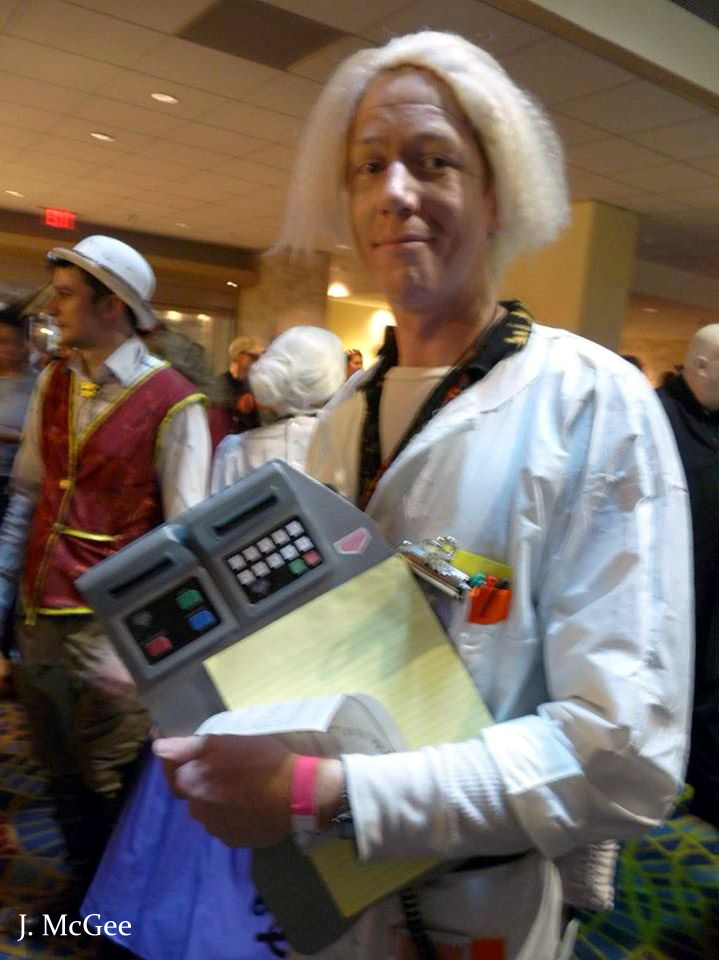
For the Timing board I printed out a image of a real timing
board to the proper dimensions, or as close as I could get
it, and used that as a template for the board and all items
on it.
I cut the main board from plexiglass and built up the two
timers mounted on it by building them from styrene plastic.
I filled in all gaps on them with JB Water Weld and sanded
all the parts. I also made the labels in photoshop and glued
them on. For the buttons I used colored sheets of craft
foam.
I removed a clip from another clip board and used rivets
to attach it to the new board. To make the timers seem as
if they could work I gutted the screens out of two calcualtors
and mounted them inside the fake timers. They don't need
to work, they just need to look like they could work. I
added some yellow notepad paper and other papers to give
it a finished look.
For the upper pocket I bought a large pocket clip and made
a time zone map as accurately as I could to match what I
could see from screencaps of the one mounted on his pocket.
The yellow pocket protector I made from a cheap plastic
folder and put the appropriately colored markers inside
it.
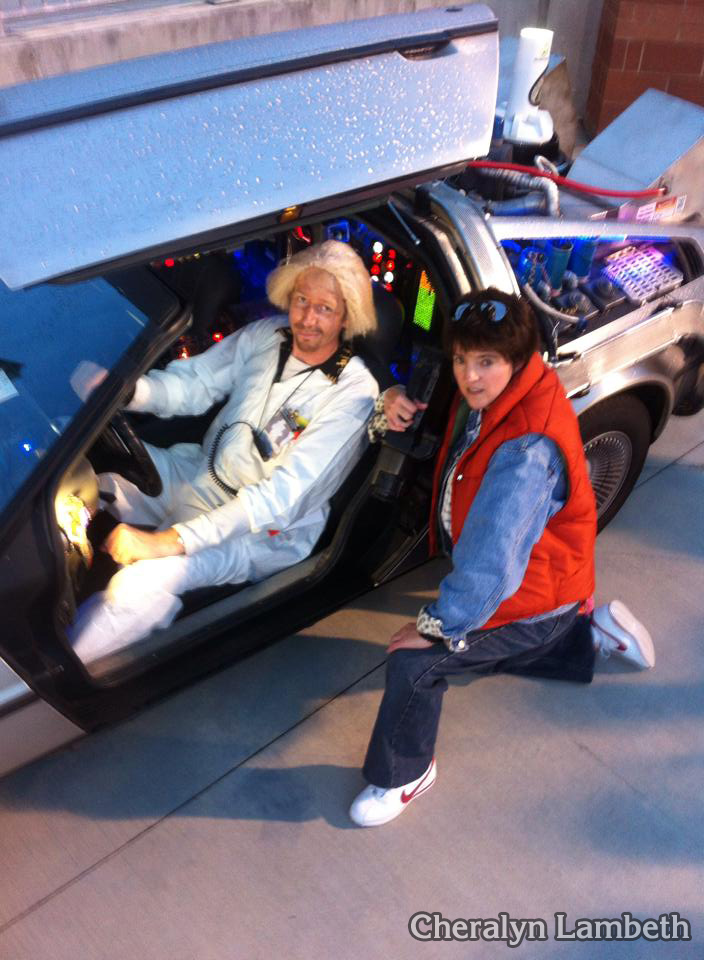
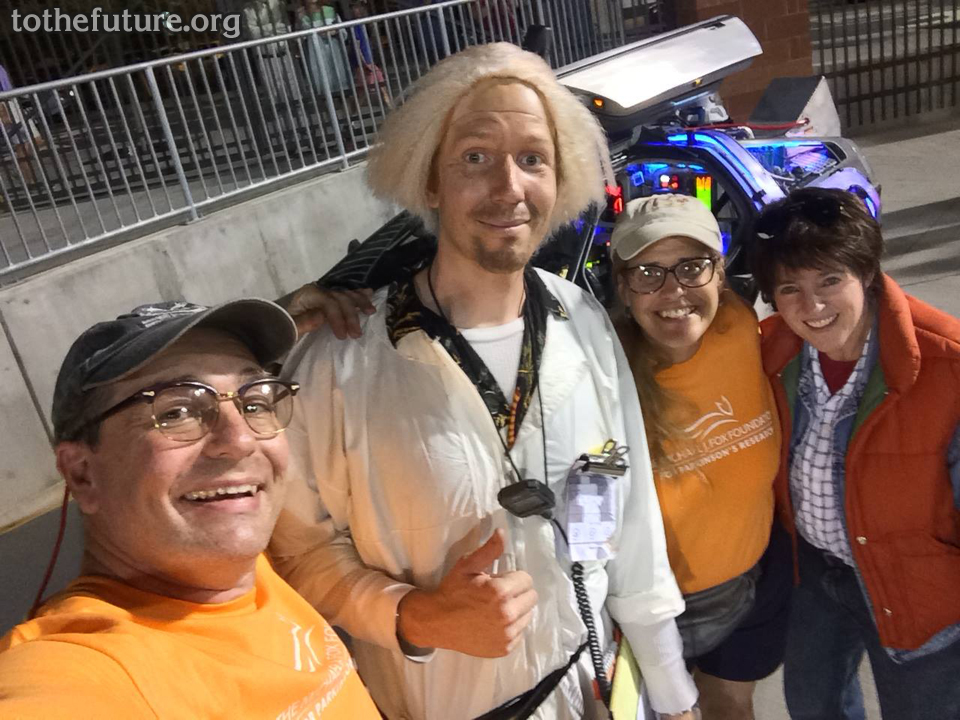
The wig in these photos was never really close to what I
wanted but it was as good as I had at the time. It's long
since tossed in the trash.
This costume, while seemingly simple at first glance is
full of all sorts of little details that I came to appreciate
more after putting it all together. It took a lot of time,
and effort but it was worth it.
|